前言
2019inCTF的rce-auditor的环境搭建到解决的详细过程
0x02 rce-auditor
环境的文件目录如下:
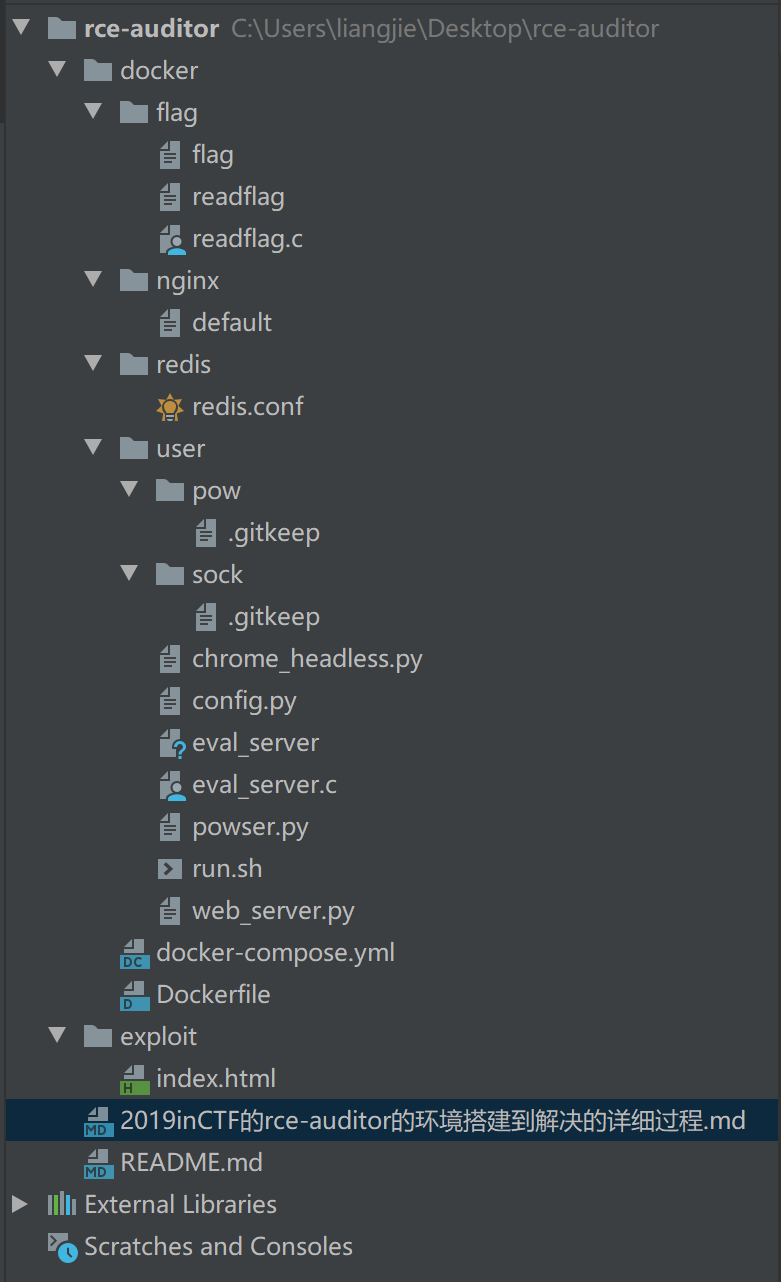
下面是每个目录和文件的介绍。
docker目录存放的是环境的基本文件,而exploit存放的是解决该问题的文件,下面将从docker目录开始详细的每一个文件的内容。
docker目录下的flag目录。
flag文件的内容是你要通过利用获取的。readflag文件是编译好的二进制文件的,要通过拿到shell执行它获取flag的内容。readflag.c文件是编译之前的readflag的.c文件,内容如下:1
2
3
4
5
6
7
8
9
10
11
12
int main()
{
FILE *f = fopen("/flag", "r");
char buf[256] = {0};
fgets(buf, 256, f);
puts(buf);
fclose(f);
return 0;
}
docker目录下的nginx文件夹。
default文件是nginx的配置文件,内容如下:1
2
3
4
5
6
7
8
9server {
listen 80;
server_name _;
location / {
include proxy_params;
proxy_pass http://unix:/home/user/sock/server.sock;
}
}
这个配置文件是代理80端口的将http请求代理到unixsocket。
docker目录下的redis文件夹。
redis.conf文件是redis的配置文件。
docker目录的user文件夹。
pow目录暂时没有东西。sock目录暂时没有东西。chrome_headless.py的内容如下:1
2
3
4
5
6
7
8
9
10
11
12
13
14
15
16
17
18
19
20
21
22
23
24
25
26#!/usr/bin/env python3
import time
from selenium.webdriver import Chrome
from selenium.webdriver.chrome.options import Options
from selenium.common.exceptions import TimeoutException, WebDriverException
loading_page_time_sec = 5
browsing_page_time_sec = 5
def browse(url):
options = Options()
options.headless = True
options.add_argument('--no-sandbox') # https://stackoverflow.com/a/45846909
options.add_argument('--disable-dev-shm-usage') # https://stackoverflow.com/a/50642913
chrome = Chrome(options=options)
# https://stackoverflow.com/a/47695227
chrome.set_page_load_timeout(loading_page_time_sec)
chrome.set_script_timeout(loading_page_time_sec)
try:
chrome.get(url)
time.sleep(browsing_page_time_sec)
except (TimeoutException, WebDriverException):
pass
finally:
chrome.quit()
下面大体介绍一下这个函数:
2~6行主要导入所需的模块。8行设置了请求页面时的超时时间。9行设置了执行javascript脚本超时时间。12行初始化chrome的设置参数实例。13行设置浏览器为无界面运行。14行设置浏览器为非沙盒模式运行。15行详细链接16~19将上面提到的参数设置到chrome中。21模仿浏览器发起get请求。22进程阻塞了5秒。26行关闭所有的窗口。
config.py的内容如下:
1 | #!/usr/bin/env python3 |
是一个基本配置。
eval_server是eval_server.c编译后的二进制文件。
eval_server.c的内容如下:
1 |
|
大家可以自己运行一下看看结果。
powser.py的内容:
1 | #!/usr/bin/env python3 |
详细介绍请戳这里
run.sh的内容如下:
1 |
|
下面是上面文件的详细介绍:
3行设置了dev/shm的权限为rwsx-rx-rx。6行启动redis服务器。9行设置环境变量LANG=C.UTF-8解决乱码。10行设置是为了去除所有本地化的设置,让命令能正确执行。11~13行用sudo提升到user用户去启动4个后台队列处理redis服务,基于unixsocket,运行在内网中。16行在连接到127.0.0.1:6666时自动启动eval_server。19行重启nginx服务器。22~29行用这个gunicorn来管理starlette。
参考链接
https://outmanzzq.github.io/2018/09/11/chmod-in-linux/
web_server.py的内容如下:
1 | #!/usr/bin/env python3 |
详细介绍请戳这里
docker-compose.yml的内容如下:
1 | version: "2.2" |
详细介绍请戳这里
Dockerfile的内容如下:
1 | FROM ubuntu:18.04 |
下面来详细的介绍一下:
1行是使用的基础镜像。2行是作者名。6行是更新可获得的包的列表。7行通过下载更新后列表的包。9~14行通过apt下载软件包。16~22行通过pip3下载软件包。25行创建一个不带/home目录和配置文件的flag用户。26行复制flag/flag的文件到/flag目录。27同上。28修改这个目录用户和用户组为flag。29同上。30修改/flag文件的权限为文件所有者只读。31行chmod 4755与chmod 755的区别在于开头多了一位,这个4表示其他用户执行文件时,具有与所有者相当的权限。34行设置/tmp和/var/tmp的权限为rwx-rx-rxt。36行复制nginx/default文件到/etc/nginx/sites-available/default位置。40行文件的复制和修改用户和用户组。43行创建一个用户eval不带/home和配置文件。46行将user目录移动到/home/user目录。47行创建user用户同43行。49行将redis用户添加到user用户组。51行同上。52行同28行。53行同28行。54行设置/home/user/pow目录的权限为rwx------。56行设置user用户执行/home/user/eval_server时用eval用户的权限,并且用sudo时不用输入密码。58暴露的端口为80。60设置工作目录为/home/user。61行运行run.sh。
参考链接
https://outmanzzq.github.io/2018/09/11/chmod-in-linux/
exploit目录的index.html文件的内容如下:
1 | <script> |
Writeup
这个内部服务器监听在localhost:6666将从输入中读取内容并在shell中逐行执行。但是,Chromium(和Firefox)将会阻止到端口6666的任何访问由于ERR_UNSAFE_PORT。它旨在保护用户免受协议走私攻击。
因此,基于HTTP的请求(XHR/fetch/html)将无法发送。我们必须利用其他的协议。尽管Chromium支持ftp协议,但是利用ftp协议走私是很困难的。
如今,现代的浏览器支持WebRTC API,这个API旨在建立对等连接。在协商过程中,将使用STUN协议来选择ICE candidates。
但是它不是简单的。
在初始化WebRTC TURN服务器时指定用户名和密码将不起作用,因为TURN握手已经考虑到此协议走私攻击。
- 尽管用户名和密码是可控的,但这不是浏览器发送的第一个数据包。
- 除非浏览器收到有效的响应,否则它将不会发送包含用户名和密码的身份验证数据包。
- 我们无法控制第一个握手包中的任何字节。